1
Upload
Drag and drop your existing thumbnail into the editor.
Reviewed by Thumbnail Studioo · Updated 20 April 2026
Open the Thumbnail EditorAI thumbnail generator
Describe the thumbnail you want and generate it directly on this page.
Your thumbnail will appear here
Write a description and choose a style to get started.
Most people searching for a thumbnail editor already have a thumbnail, it just has one problem. The background is distracting. The text is too small to read on mobile. The face is blurry. Starting over in Photoshop or Canva wastes an hour to fix a five-minute problem. A thumbnail editor handles the specific fixes creators actually need: targeted background removal, text changes, and face enhancement without touching everything else.
Thumbnail Studioo's YouTube thumbnail editor lets you upload existing thumbnails and make quick fixes. Remove backgrounds, change text, enhance faces, and export in up to 4K. For creating new thumbnails from text descriptions, our AI thumbnail generator handles that. Sign in to start editing.
How It Works
Drag and drop your existing thumbnail into the editor.
Use one-click tools to remove backgrounds, enhance faces, or change text.
Zoom out to check readability at roughly the size YouTube shows it in the mobile feed.
Download at 1280x720 HD, 2K, or YouTube's currently recommended 3840x2160 size.
Examples









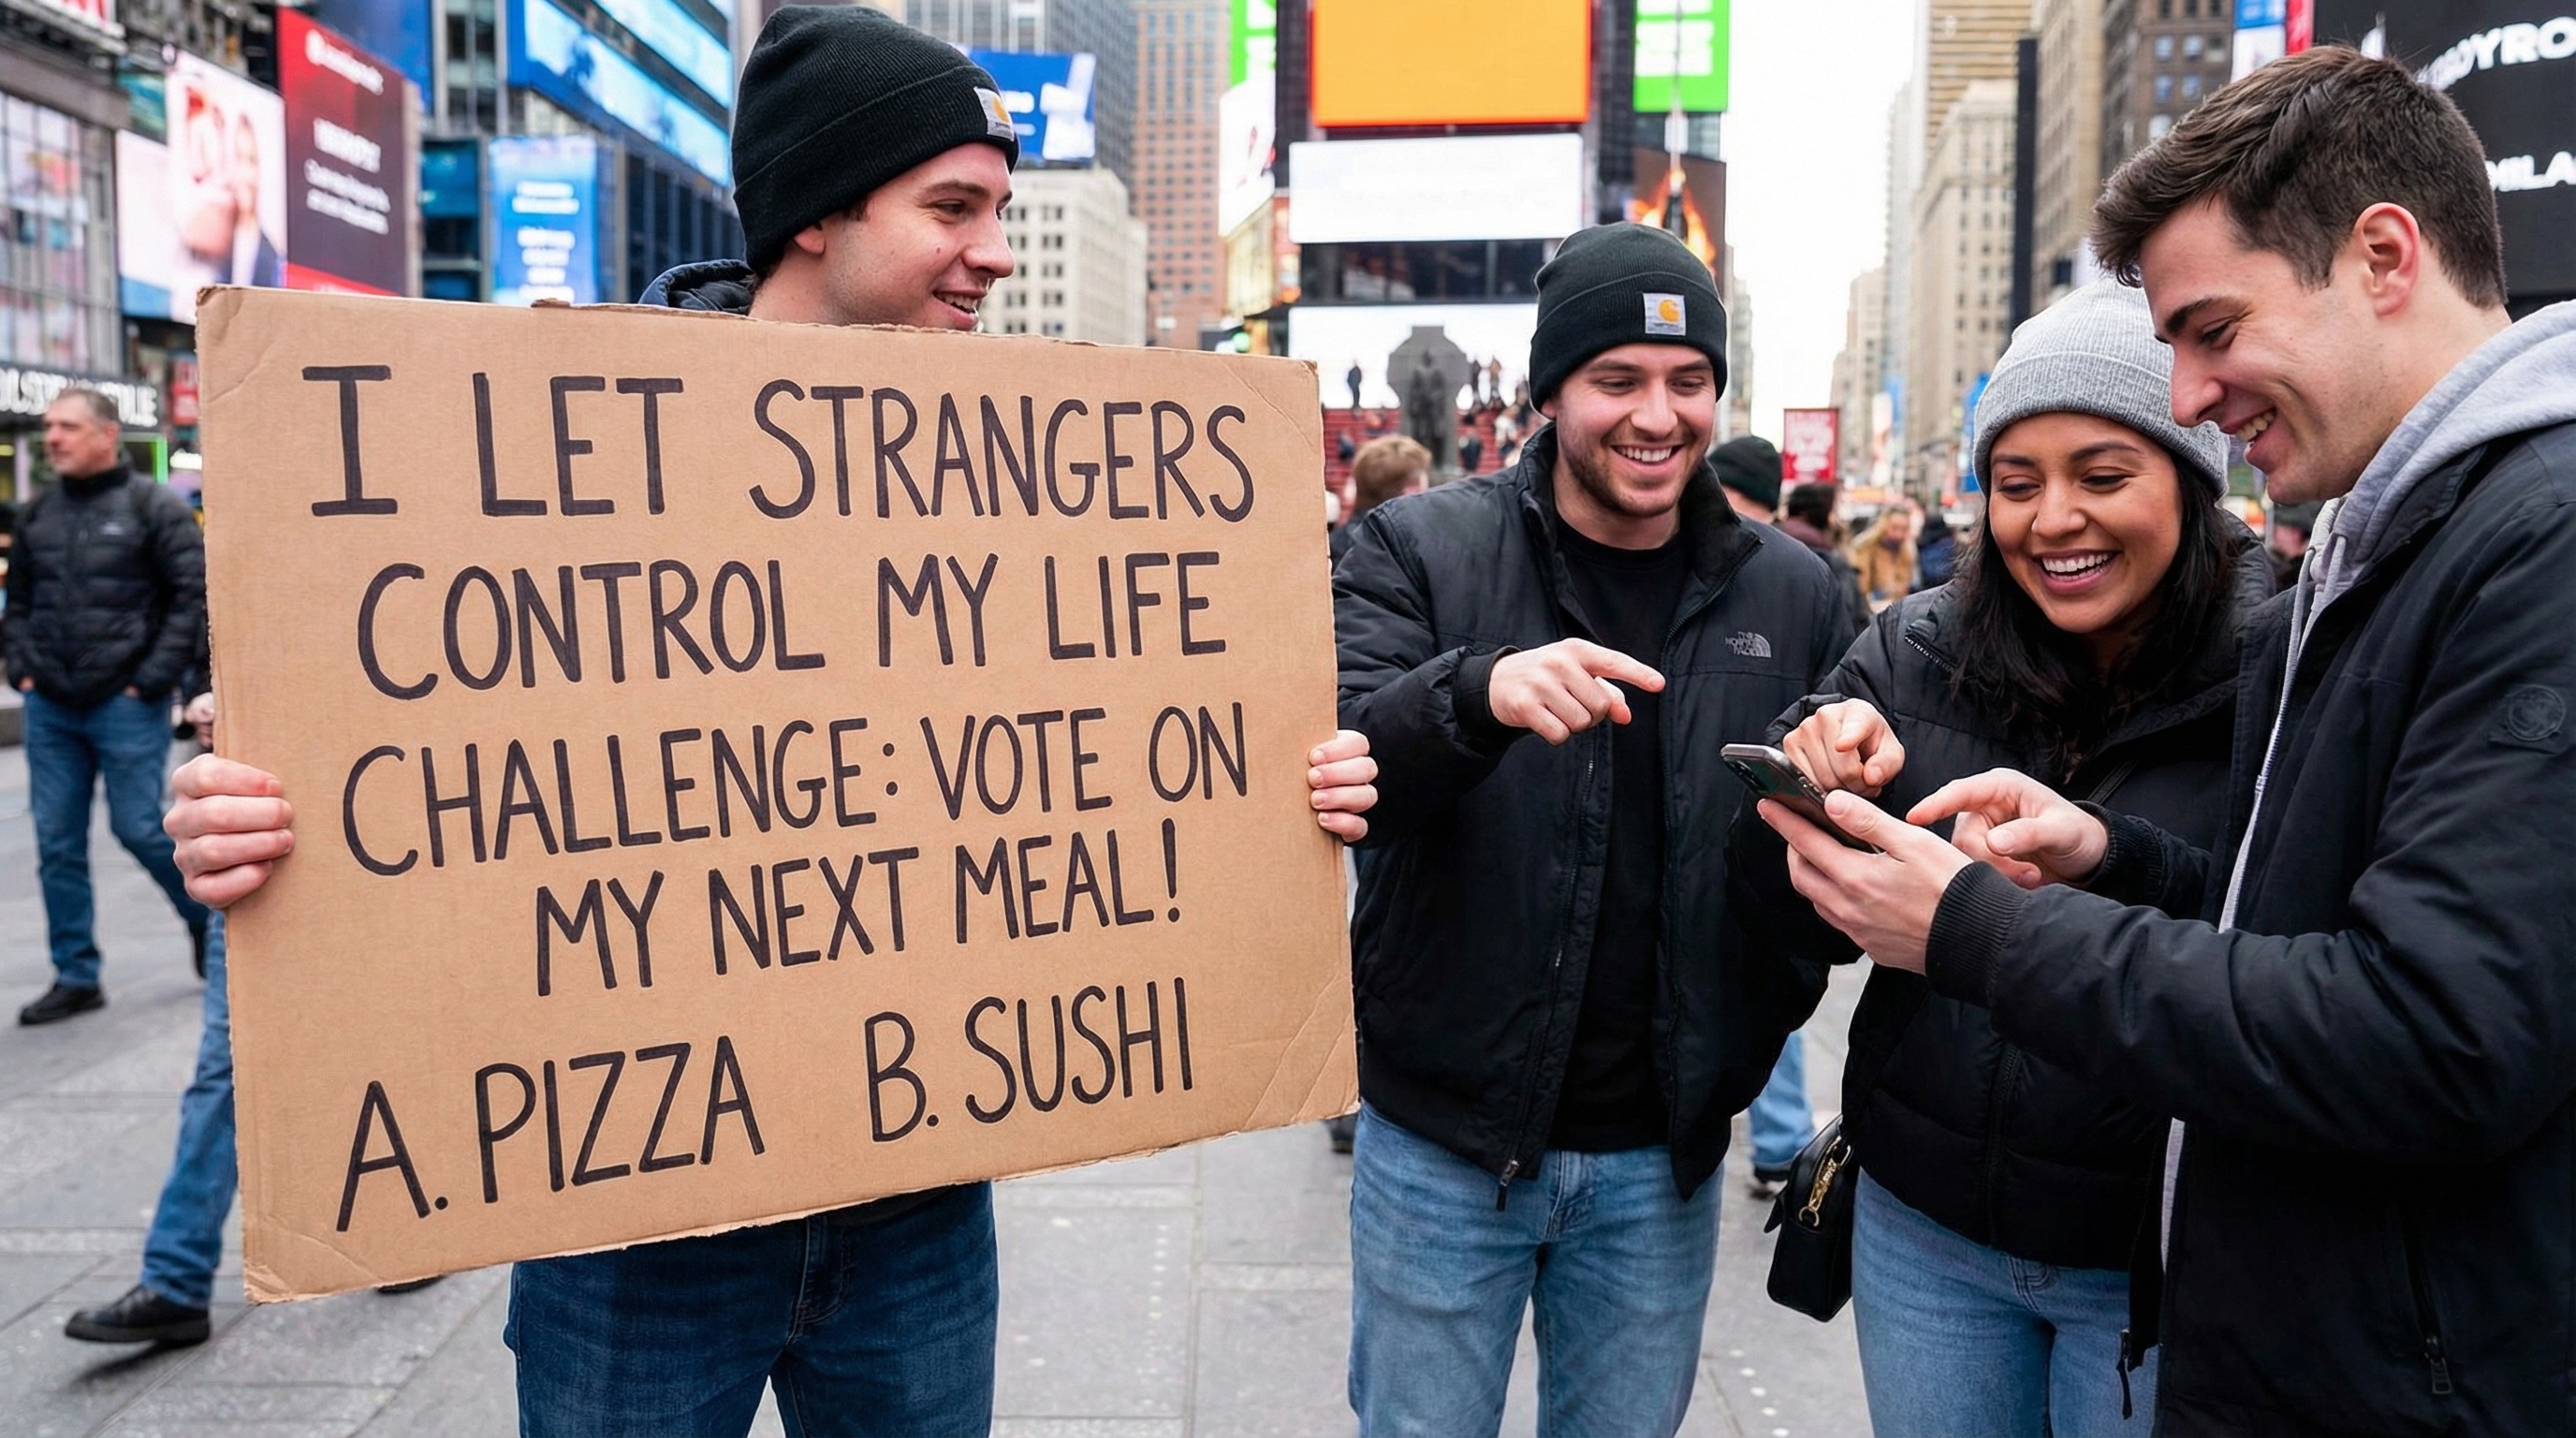
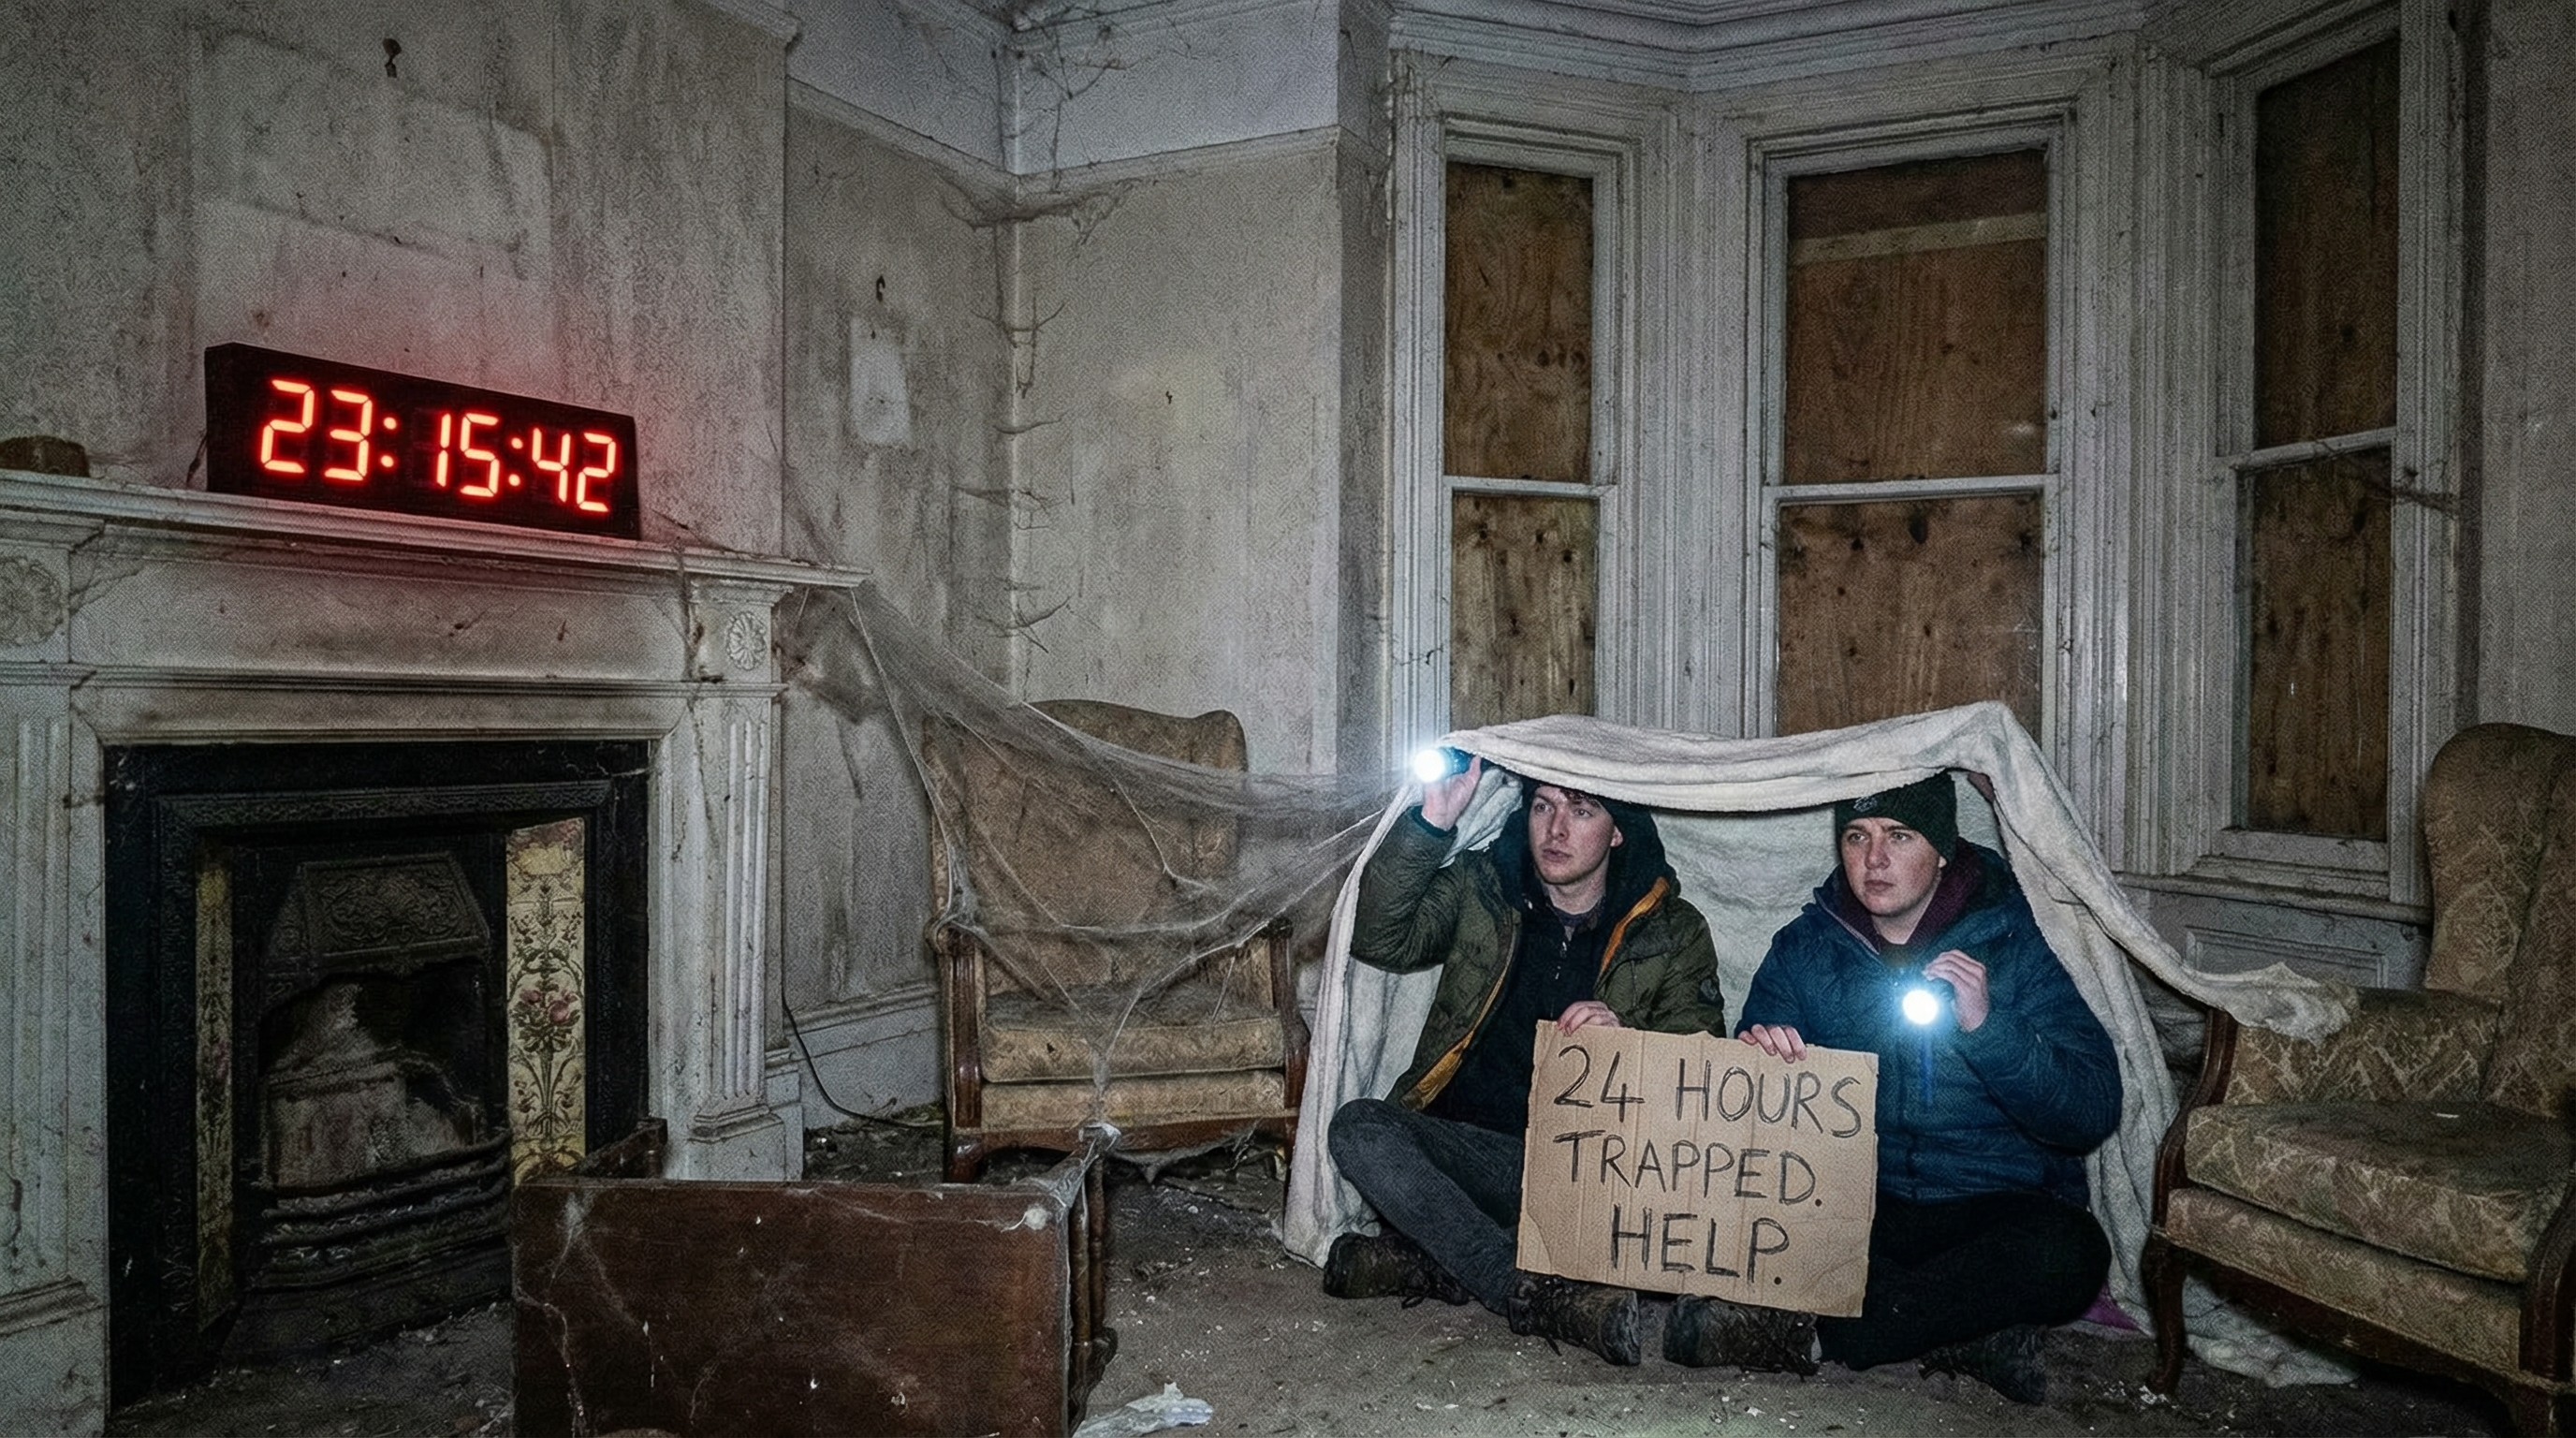

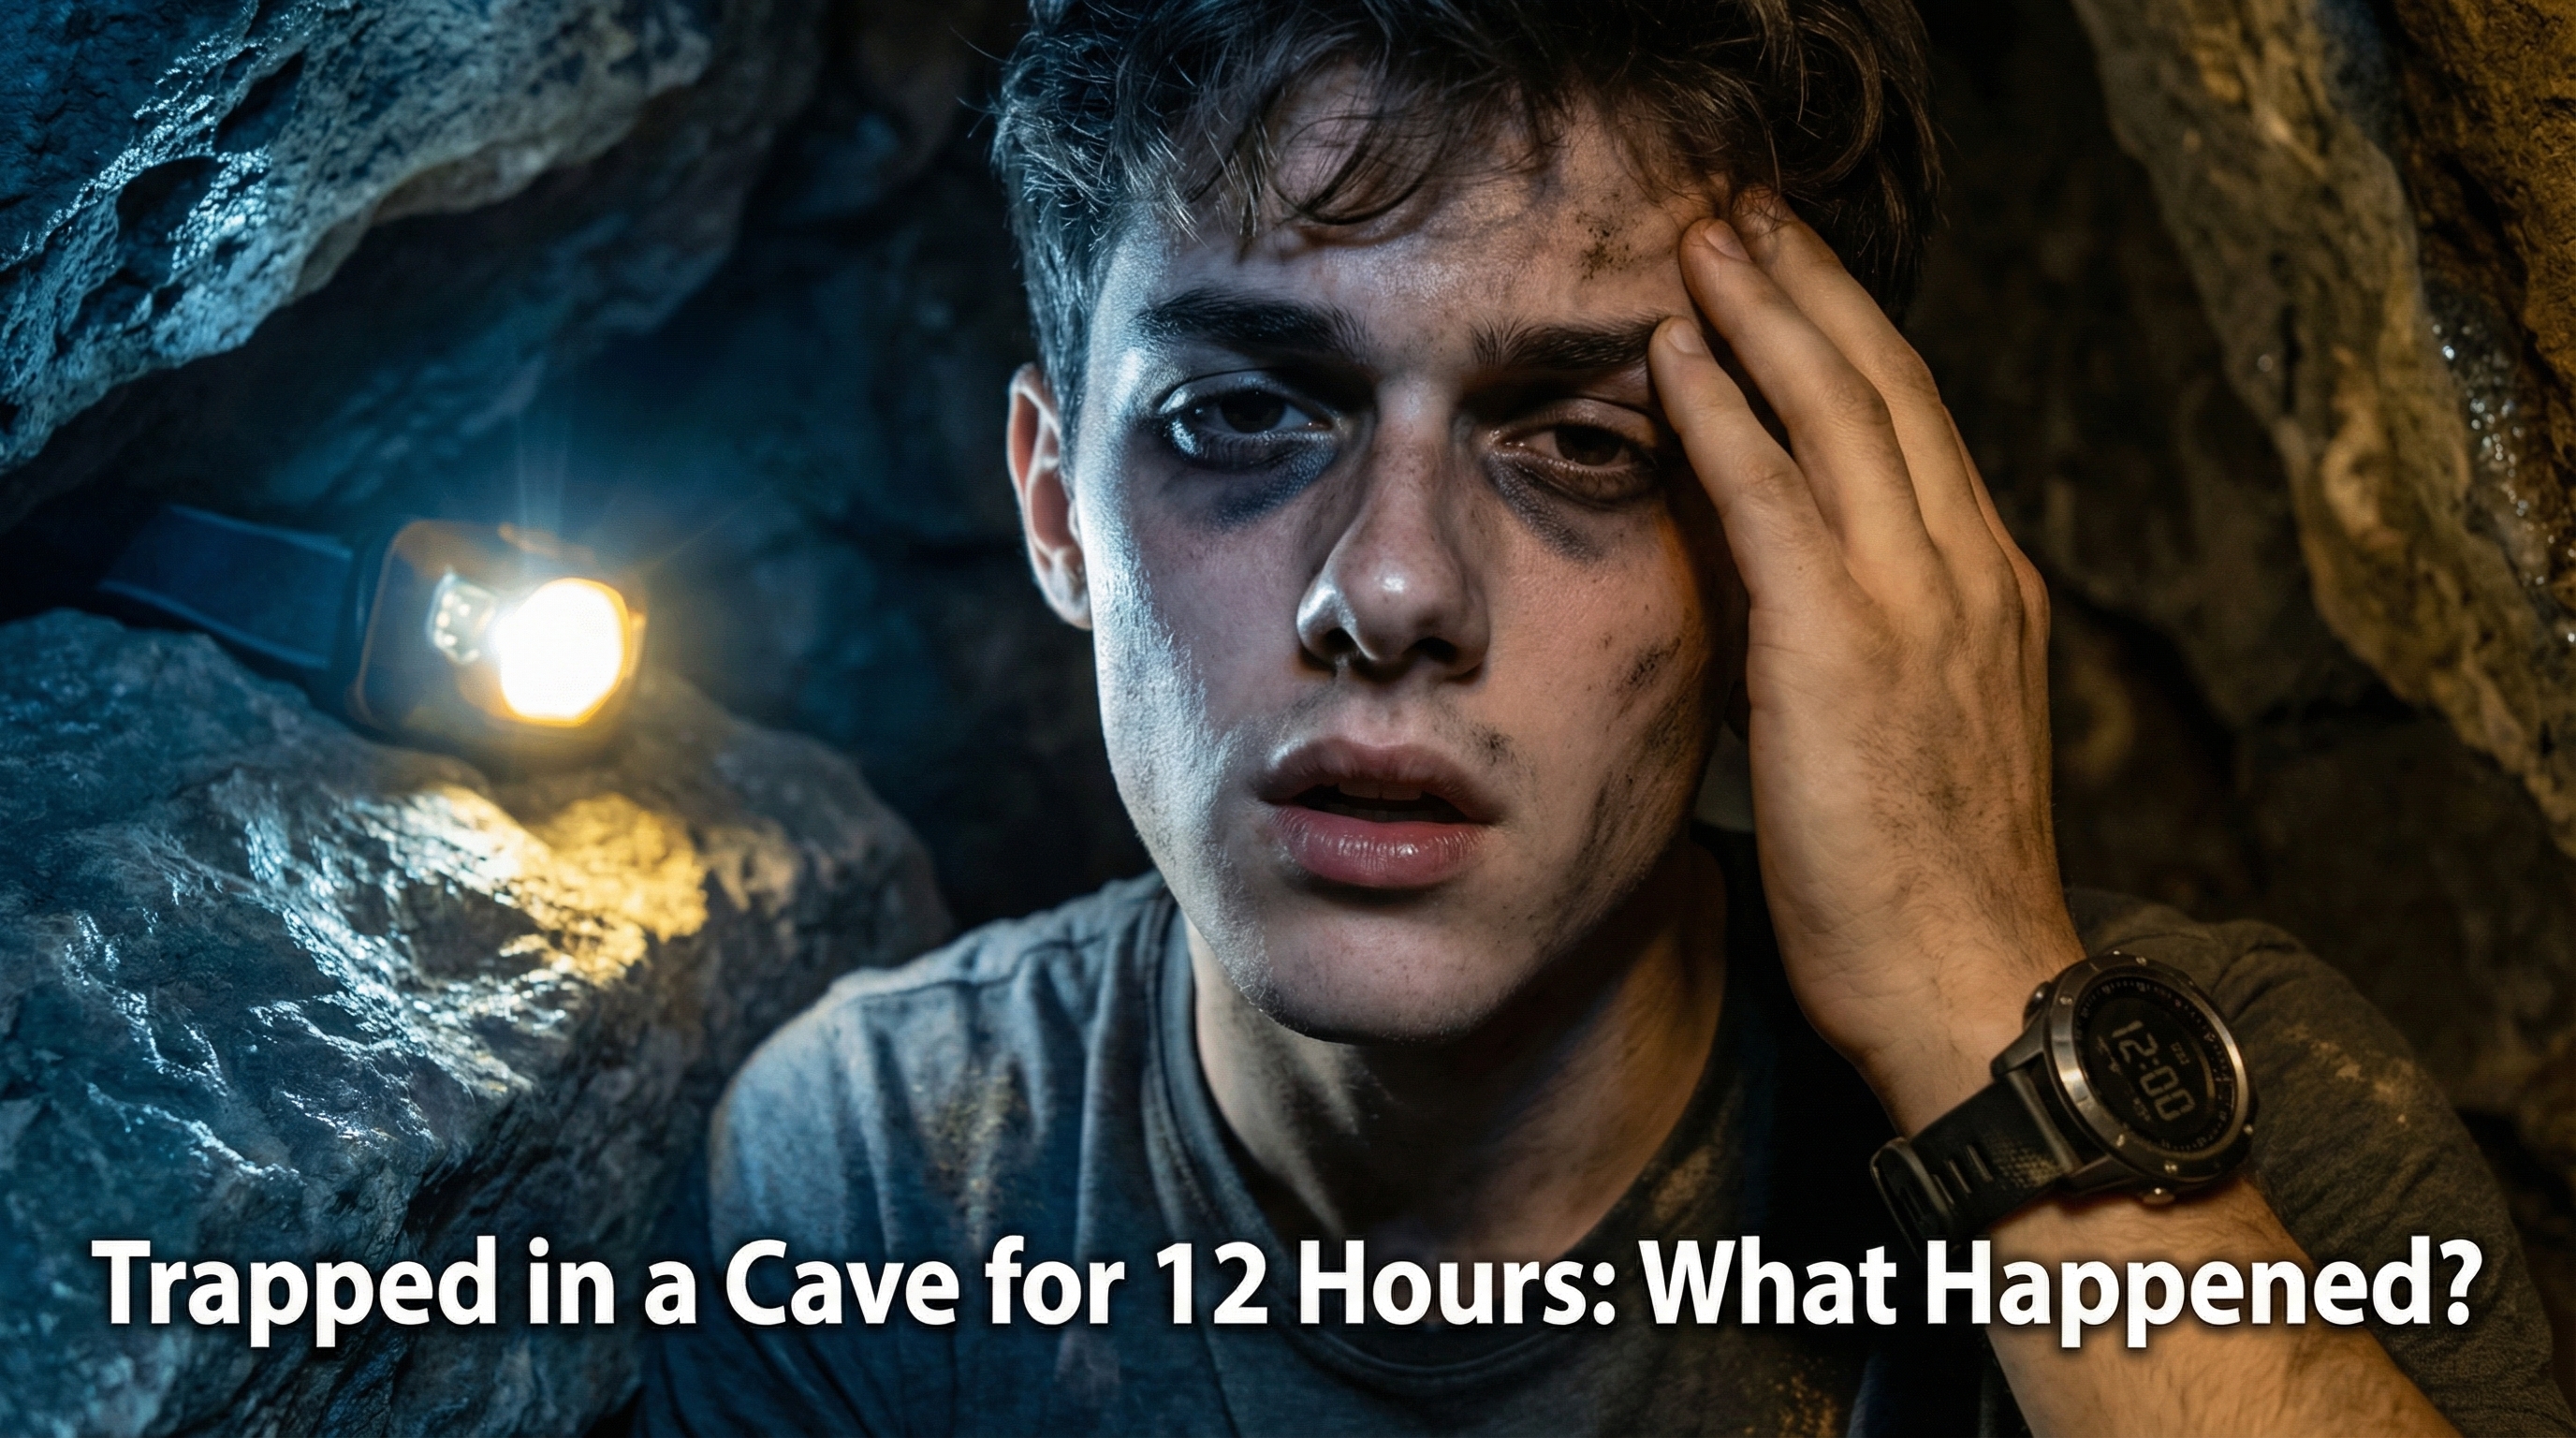
Who It's For
Creators who need to fix one thing without rebuilding the whole thumbnail
Anyone testing different versions to see what gets more clicks
YouTubers who want to update old thumbnails with better text
Channels that need quick edits without opening Photoshop
Benefits
One weak element should not mean starting over. Remove a background, fix the text, or enhance a face while everything else stays untouched.
Edits run at full resolution and compression happens once, at export. Faces stay sharp, text edges stay crisp, and you can download up to 4K when you need the extra detail.
Every export is saved with a timestamp, so A/B testing is easy and you never dig through folders of files named "thumbnail_final_v3_REAL.png" again.
Background removal, face enhancement, and text editing as one-click tools. Professional results without months of layer masks and blend modes.
Try These
“Photo of a person with a messy room behind them, remove the background completely and replace with a clean solid blue color, keep the person exactly the same”
“Existing thumbnail where the text is too small, make the title text much bigger and add a black outline so it shows up better on any background”
“Screenshot from a video that looks dark and boring, make the colors brighter and more saturated, add a subtle glow around the main subject”
Best Practices
Focus on fixing one problem at a time rather than trying to overhaul everything at once. Start with whatever is weakest in your current thumbnail, whether that is unreadable text, a cluttered background, or a blurry face. Make that one fix, evaluate the result, and then decide if additional changes are needed. This methodical approach produces cleaner results than trying to change everything simultaneously.
Always check your edited thumbnail at the size it will actually appear to viewers. On YouTube, thumbnails display quite small, especially on mobile devices. What looks perfectly readable on your large monitor might be completely illegible when shrunk down. Zoom your browser out to roughly mobile-feed size before exporting.
When editing text, prioritize contrast over creativity. A simple white font with a black outline is readable against almost any background. Fancy gradient text or colors that match your background might look sophisticated up close but become muddy and unreadable at thumbnail size.
If your thumbnail includes a face, make sure the expression is clear and emotionally engaging. Faces are powerful attention-grabbers, but only if viewers can actually see the expression. Use the face enhancement tools to sharpen features and adjust lighting if the original is too dark or flat.
Save multiple versions of your edited thumbnail with different variations. Maybe one version has a red background and another has blue, or one uses a question in the text and another uses a statement. Export both and use YouTube native A/B testing to see which performs better with your actual audience.
Common Mistakes
Making text too small is the single most common thumbnail mistake. Creators design on large monitors and forget that most viewers will see their thumbnail on a phone screen at a tiny size. If you have to squint to read your text at full size, it will be completely illegible on mobile. When in doubt, make text larger than you think necessary.
Trying to communicate too many ideas in one thumbnail leads to visual clutter that confuses viewers. Your thumbnail should convey one clear concept or emotion. If you find yourself adding more and more elements, step back and ask what the single most important thing is that you want viewers to understand at a glance.
Using colors that do not contrast well makes thumbnails fade into the background of YouTube search results and suggested videos. Dark text on dark backgrounds, pastel colors that blend together, or overly complex color schemes all reduce visibility. Stick to high-contrast color combinations that pop even at small sizes.
Ignoring the safe zones where YouTube overlays video duration and other UI elements can result in important parts of your thumbnail being covered. The bottom right corner in particular often gets obscured. Keep your most important elements, especially text and faces, in the central area of the frame.
Over-editing to the point where the thumbnail no longer looks natural can make viewers suspicious. Heavy filters, unrealistic colors, or obviously manipulated images can reduce trust and click-through rates. Aim for edits that enhance your thumbnail while still looking authentic to your content.
When your thumbnail is not performing, you have two options: edit the existing one or generate a new one from scratch. Here is how to decide:
Edit when the core composition is solid. If the layout, subject, and overall feel are right but one element is weak, the background is distracting, the text is hard to read, the lighting is flat, editing is faster. You preserve what is working and fix only what is broken.
Regenerate when the concept itself is wrong. If the thumbnail gets clicks but the wrong audience watches, the concept needs to change. If it gets no clicks because the visual is boring and there is nothing to salvage, starting fresh is faster than trying to fix a fundamentally weak image.
Edit for A/B testing variations. When you want to test whether a red background or blue background performs better, edit copies of the same thumbnail. Keep everything identical except the one variable you are testing. This gives you clean data.
Regenerate when you want a completely different style. If you have been doing the same thumbnail style for 50 videos and want to try something new, generating a fresh set with different AI prompts is more efficient than trying to edit existing thumbnails into a new style.
Here are the most common problems creators bring to the thumbnail editor, and the fastest way to fix each one:
| Problem | Fix | Time to Fix | What to Watch For |
|---|---|---|---|
| Text too small on mobile | Increase font size, add thick outline | 2 min | Test at 320px width before exporting |
| Distracting background | Background removal + solid color or new image | 3 min | Check edges around hair and complex shapes |
| Face looks flat or dark | Face enhancement, brightness/contrast adjustment | 1 min | Don't over-brighten, looks unnatural |
| Too many elements cluttered | Crop or remove secondary elements, enlarge main subject | 5 min | One focal point is almost always better than three |
| Low click-through rate | Change headline text to a stronger hook, add expression | 5 min | Match the emotion to what viewers will feel watching |
| Text color blends into background | Switch to high-contrast color, add white or black outline | 1 min | White text with dark outline works on any background |
The creators with the highest click-through rates run structured experiments, not guesses. Here is how to use the thumbnail editor to run proper A/B tests:
Test one variable at a time. Create a base thumbnail. Make one copy with a different text color. One copy with a different headline. One copy with a different background. Changing multiple things at once means you will not know which change caused the result.
Export all variations from version history. The editor automatically saves every version you export. You can always go back and re-export an earlier version without recreating it.
Upload to YouTube Studio Test & Compare. YouTube can compare up to three thumbnails and evaluates them using watch-time share. Use the editor to create meaningfully different variations, then upload them through YouTube Studio.
Let YouTube finish the test. Depending on the traffic and how distinct the options are, a test can take several days or up to two weeks. Avoid inventing a fixed impression threshold that YouTube does not publish.
Document what you learn. When your own tests show that a thumbnail pattern repeatedly performs better, record the text style, color combination, subject, and audience context. Use that evidence as a starting point for future tests rather than treating it as a universal rule.
Upload an existing thumbnail and see how quickly you can fix common problems like cluttered backgrounds, unreadable text, or flat lighting. Try free for 3 days with no watermarks on any exports.
Open the Thumbnail EditorFree 3-day trial • Cancel anytime
FAQ
You can try Thumbnail Studioo free for 3 days with full access to every feature: AI editing, canvas tools, text tools, and HD export with no watermarks. Start your 3-day free trial.
This is one of the trickier problems in thumbnail editing because text that has been flattened into an image cannot simply be selected and retyped like in a word processor. Thumbnail Studioo handles this with a prompt, describe the change ("replace the title text with...", "remove the text in the corner") and the AI edits the flattened image directly. For best results, use a background that is relatively simple behind your text, which makes the AI replacement look more natural.
Yes, background removal is one of the most popular things creators use Thumbnail Studioo for. Upload your thumbnail and describe what you want, for example "remove the background and replace it with a solid dark blue." The AI analyzes the image to identify the main subject, whether that is a person, object, or focal point, and replaces everything else while preserving fine details like hair strands and complex edges. You can ask for a solid color, a gradient, or a fully AI-generated new background in the same prompt. The entire process takes about 30 seconds and maintains the quality of your subject.
The thumbnail editor accepts PNG, JPG, JPEG, and WebP formats. The canvas uses a 16:9 layout and offers 1280x720 HD, 2K, and 3840x2160 4K export options. If you upload a larger image, it is kept at full quality for editing. Smaller images can be upscaled, though higher-resolution source material generally produces sharper results. The maximum upload size is 15MB.
Photoshop is an incredibly powerful tool that can do almost anything with images, but that power comes with complexity. For thumbnail editing specifically, you often just need to fix one or two things: remove a distracting background, make text more readable, or enhance a face. In Photoshop, these simple tasks require knowledge of layers, masks, selection tools, and blend modes. Thumbnail Studioo provides the same end results for these common thumbnail fixes through simplified one-click interfaces. The trade-off is that Thumbnail Studioo cannot do everything Photoshop can, but for the specific workflow of making thumbnails look better quickly, it is significantly faster to learn and use.
Thumbnail Studioo processes edits at full resolution and applies compression at export. You can make multiple edits, undo changes, and compare versions without repeatedly recompressing the working image. YouTube currently allows larger desktop thumbnail uploads than mobile uploads, so check the file size shown by your device and export setting before uploading.
Yes, the editor maintains a complete history of your editing session. You can undo individual actions to step back through your changes, or use the version history panel to jump back to any previously saved state. Every time you export a thumbnail, that version is automatically saved with a timestamp, so you can always return to earlier versions even after making many subsequent changes. This makes experimentation risk-free since you can always get back to a known good state.